One of the most ancient and reliable methods of joining two pieces of wood is the dovetail joint. It’s clean, secure and when it’s cut properly, can last for many generations.
A lot of people believe the hand-cut dovetails are too difficult. It is not. Using a few good tools, marks, and practice, you can figure it out. This will give you an overview of the joint, as well as a step-by-step process for cutting a joint by hand. If you are new to the craft, our woodworking for beginners guide covers the basics first.
What is Dovetail Joint?
A dovetail joint is a corner joint consisting of two joints: tails and pins. The tail is wedge shaped and spread, like a dove’s tail. The pins go between the tails and form the lock.
The tails are broad at either end, so they can’t get out as the boards are pulled apart. That dovetail joint is held tight by this mechanical lock, before it’s glued.
Even today, why is the dovetail joint still in use with woodworkers?
This joint is used by woodworkers for both its strength and appearance. It’s not easily pulled apart, an important feature for drawers that are opened and closed repeatedly.
The joint also provides a great area of long grain that is good for gluing. Long-grain glue joints are strong and the joint is tight and will not loosen with time.
Dovetail joints that are hand-cut are also a demonstration of skill. It is a symbol of attention to detail and precision in boxes, drawers and furniture.
Main types of dovetail joint
It’s helpful to have an understanding of the common types of saws before picking up your saw. All are designed for a particular work.
Dovetail: The tails and pins can be seen on both sides of the corner. This is the most appropriate type to learn initially.
Half blind dovetail: Pins don’t penetrate entirely. You only see the joint on the side, which’s why it’s used on drawer fronts.
Sliding dovetail: A key in the form of a dovetail is inserted into a matching slot. Also very common, in joining shelves to sides.
This article concentrates on the through type since all the basic skills are taught in that type.
Tools You Need to Cut a Dovetail Joint by Hand
No need to have a large workshop. Just one small bunch of sharp implements is sufficient.
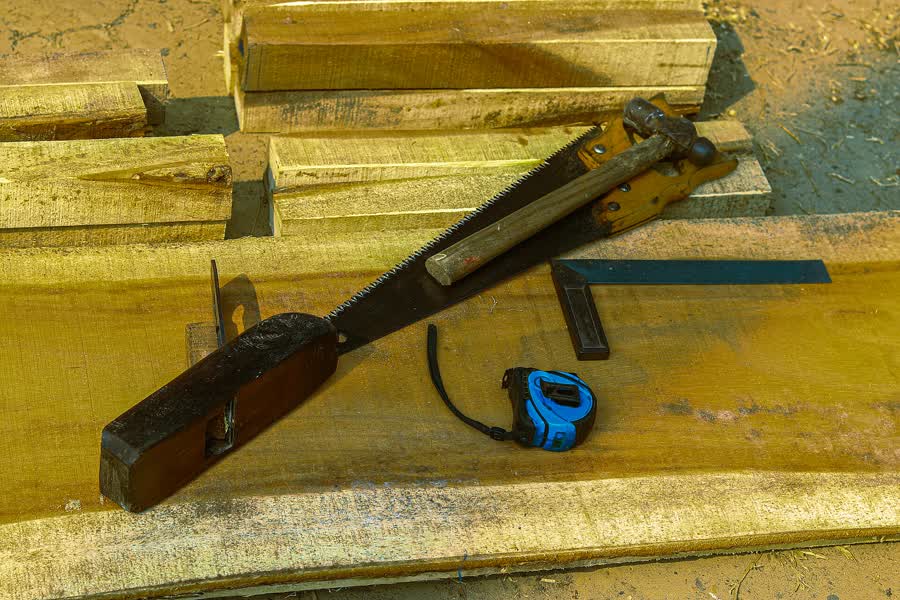
- Marking gauge used for scribing the baseline
- A sharp, clean knife used for creating straight lines.Clean, sharp knife for making straight lines.
- A try square to ensure ends are square.
- A sliding bevel or dovetail marker for marking the angle.
- A fine-toothed dovetail saw, a type of saw designed for cutting dove tails.
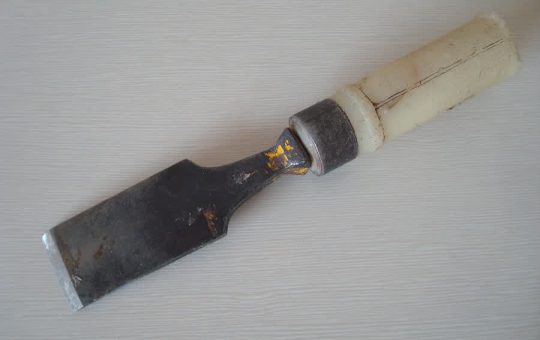
- 2 to 3 sharp bench chisels
- A mallet
- A vise or bench hook to clamps the work.
- A coping saw if you need to get rid of the scrap quicker
The important thing to note is that it is not the costly tools that matter but sharp tools. A flat chisel cuts fibers, and provides an untidy fit.
Choose the Right Wood and Angle
Try using a wood which is easy to cut for practice, e.g. pine or poplar. Use two boards of the same thickness. Check the ends for flatness and squarely cut.
An important selection is the slope of the tails. About 1:6 in soft-wood and 1:8 in hard wood. As a general rule, and not the law.
A steep slope will provide a stronger lock, but may result in weak, short grain tail edges. A 1:6 slope is a good starting point for your first dovetail joint.
Making a dovetail joint the old fashioned way.
This can be done in two ways; cutting the tail first or the pin first. Both work well. Steps below remove the tail first then mark the pins with the tail.
Step 1: Set the Baselines
Adjust the thickness of the marking gauge to the thickness of the mating board. Write on each end of each board, on the front, back and sides.
This baseline is to indicate the end of the joint. This line will be sharp and clear, and every saw and chisel cut will stop at this line.
Step 2: Mark the Tails
Choose m, the number of tails. For a small box three tails are good. Make a half-pin at the outside edges to give the corners strength.
Draw the angled lines on the end grain using the bevel gauge and then transfer the lines across both faces to the baseline. Always cut with an X on the waste to prevent cutting the wrong part.
Step 3: Saw the Tails
Hold the board in a vertical position in the vice. Saw down each angled line on the waste side, and stop at the baseline.
Ensure the saw is straight and allow it to do the job. Look at the lines on both sides, in order to keep the cut square across the board. This level of accuracy will determine the fit of the dovetail joint later on.
Step 4: Remove the Waste
The majority of waste material can be discarded using a coping saw, making sure to cut just below the baseline. Next, use a chisel to clean.
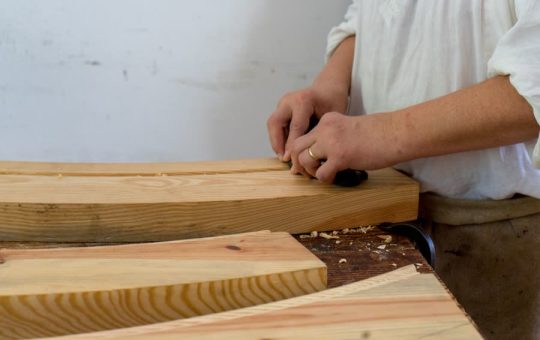
Set the board on a bench. Place chisel in scribed line and strike with the mallet. Cut approximately half way, then turn over the board and chop from the other end. This prevents the back edge being pulled out.
Step 5: Transfer the Tails to the Pin Board
Lay the pin board flat, with its end up. Put the tail board on face up and the tail board’s inner face should align with the baseline you scribed.
Trace around each tail using a sharp knife or hard and sharp pencil. This will provide you with a true representation of the shape of the pins. On the waste, mark it with an X between the pins.
Step 6: Cut the Pins
Secure the pin board in an upright position. On the waste side of each line, make a saw cut, and halt at the baseline. Then chop out the waste in the same way as the tails.
Most gaps are closed at this point. Do not cut it out, leave the line as it is and remain just inside the line. It’s never too much to remove but it’s always too little to add.
Step 7: Test Fit and Assemble
Experiment with the glued joint without glue. It should be done in conjunction with light mallet hitting. If it requires a few hard blows, then stop. Putting too much pressure on it will cause the wood to split.
Look for shiny marks or crushed fibres to identify the tight spots. Cut them on the chisel in thin shavings. If it’s tight, add glue to the sides of the pins and tails and then fasten it and make sure it’s square.
Common Mistakes When Cutting a Dovetail Joint
Most issues are due to little mistakes that compound. Beware of these. You can also read about common woodworking mistakes to avoid in the shop.
- Sawing on the wrong side of the line: Always saw in the waste, never through your marks.
- Beyond the baseline: This results in an open (visible) cut that is not hidden.
- Using a dull chisel: Will crush the wood rather than slice it.
- A too tight fit: A joint that is too tight may split a board.
- Do not skip the knife lines: Thick lines cause gaps and thick lines are pencil.
Once these habits are corrected, every dovetail will cut better.
Tips for a Tighter Dovetail Joint
The secret to good results is regular practice.
Grasp the saw lightly and keep an eye on the line. Take slow, gentle strokes. The shortest distance to stray from the mark is to run too fast. Popular Woodworking shares more tips for dovetailing by hand.
Have a piece of scrap wood to practice chiseling on. To prevent cutting into good boards, practice on a few joints in cheap wood first.
Additionally, mark your boards! This will help you not get parts mixed up when putting them together.
Final Thoughts
While the dovetail joint sounds high-tech, it’s actually simple to create, with the main steps being careful marking, careful sawing on the waste side, careful chopping, and patient testing of the fit.
Begin with a small box, in easy wood. Don’t be afraid of mistakes in the first few times, see it as a learning opportunity. Every joint will give you some sort of a lesson in tools and hands. For more practice ideas, try these easy woodworking projects.
By practicing and using sharp tools, you’ll soon be able to cut a dovetail joint by hand that is tight, strong, and proud to show.
FAQs
A dovetail joint is used for what?
Boards are joined together in a corner with a dovetail joint. You will frequently find it in drawers, boxes, chests, and carcases for cabinets were resistance to pulling is required.
Which is a stronger joint, a dovetail or a butt joint?
Yes, in most cases. A butt joint is the most glued or nailed/screwed type of joint. A dovetail joint mechanically locks and is not as easy to pull apart.
Which way is it best to cut the tails or the pins first?
Both methods work. Many beginners remove the tail first as it is easier to mark the angles first. Some prefer to have pins first. Test both, and stick with the one that works for you.
What is the optimum angle of a dovetail joint?
The slope of 1:6 is often used for softwood and 1:8 is often used for hardwood. These are the guidelines to follow in order to balance strength and appearance.
How many hours would it take to practice by hand to become proficient in cutting a dovetail joint?
The length of time is not fixed. After a few practice joints most people will see their progress clearly. The key to mastering this is to use sharp tools, mark things carefully and practice regularly, not to speed it up.