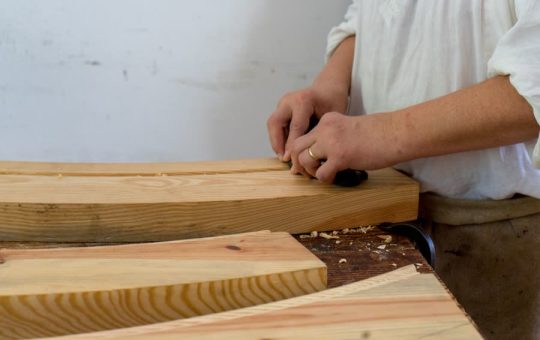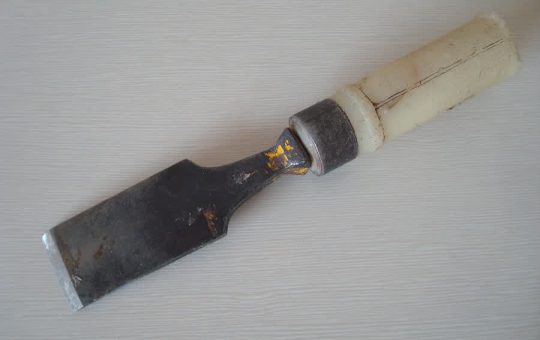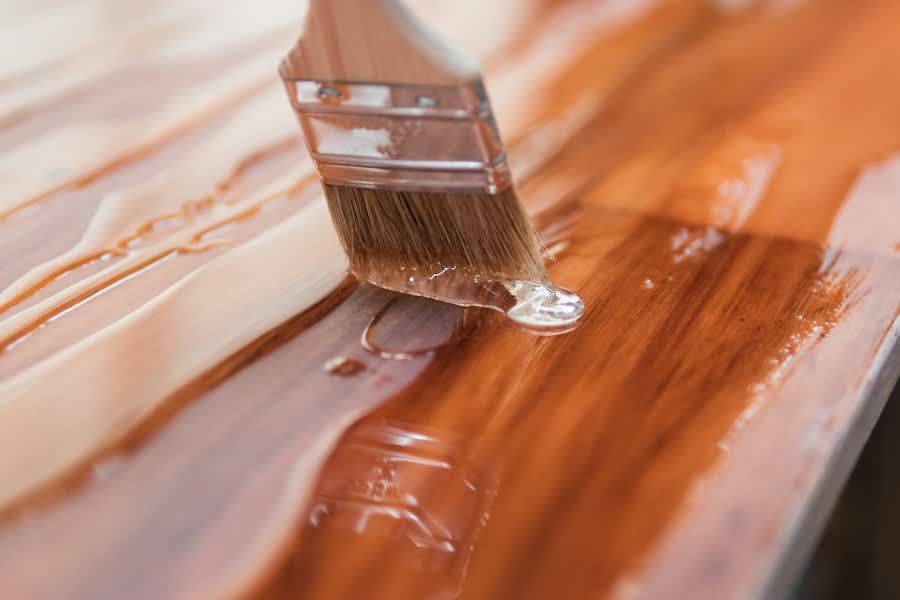
But, once you know how to stain wood, a practically flat board can be transformed into one with real depth and warmth. A nice stain will highlight the grain and help to create a beautiful look on furniture, doors and shelves. A bad one leaves spots, blotches and sticky patches.
The great news is that an even colour isn’t good fortune. It is the result of careful preparation, the correct products and a steady hand. Through this step-by-step guide, you can learn to stain wood perfectly the first time!
What Wood Stain Does (and What It Does Not Do):
Wood stain is a coloured solution that absorbs into wood fibres. It does not cover up the grain like paint does. It highlights it.
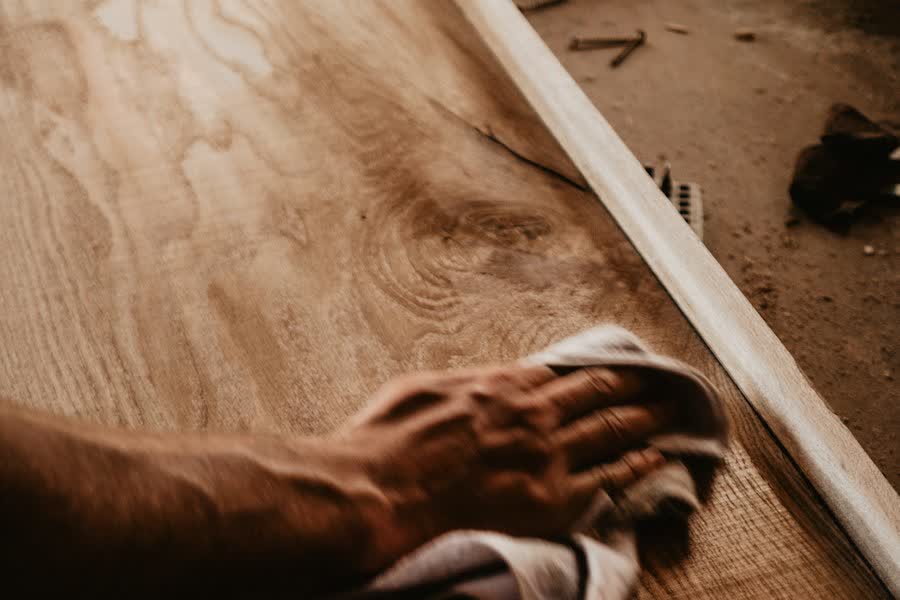
Stain provides colour, but is not considered to offer sufficient protection if used alone. Even with the topcoat, it’s important to apply a clear polyurethane, varnish, or wax to protect the surface from moisture or wear.
Knowing this, wood staining is easy – color first, protection next.
Gather Your Tools and Materials
Prepare all supplies before opening can. When finishing a coat in the middle, lap marks can be left. You will need:
Sandpaper in a few grits, such as 80 or 100, 120, and 150 to 180
A tack cloth or clean rag for dusting.
A pre-stain wood conditioner (for blotch prone woods)
Your chosen wood stain
Use lint-free cloths, a natural bristle brush, or a foam applicator.
Gloves, mask, safety glasses
A clear topcoat
A test piece of the same wood for testing purposes.
Select the right type of stain
The wood product you choose can make a small but significant difference in how the wood is stained. Below are the 3 most popular choices.
Oil-Based Stain
Oil-based stain penetrates and provides a warm, rich color. Stays usable for longer which enables beginners to wipe evenly. Dries slowly, and is strongly scented, so work in a well-ventilated area. Bob Vila also offers helpful background reading on this subject.
Water-Based Stain
Water-based stain dries faster, doesn’t have the same odor and is easy to remove with water. May raise the wood grain, can have lap marks if worked slowly. Make sections short and get to the point.
Gel Stain
Gel stain is not absorbed into the wood and is thick. Therefore, it is a good selection for woods prone to blotching such as pine and birch. Also effects vertical surfaces less than drippery so more control on vertical surfaces.
The first step is to prepare the wood surface.
Step 1: prepare the wood surface.
The prep step is the most crucial of the stain wood evenly. Stain will only penetrate clean and bare wood.
In the case of an old finish, strip or sand the surface off with a chemical stripper. If there is any leftover finish it will prevent stain from taking properly, resulting in spotty color.
Then sand with the grain. If the surface is rough, begin with 80 or 100 grit. Move to 120, then finish with 150 to 180 grit. Finer than 220 grit will close up pores and prevent the stain from absorbing into the wood.
Stainable wood filler can be used to fill nail holes or dents, and then sanded smooth. Remember that the color of the filler can vary from the rest of the wood; test at first.
Lastly, clean all the dust. Vacuum and then wipe with a tack cloth or clean rag. When there is dust on the surface it forms a gritty finish.
Step 2: Paint Wood Conditioner to Blotch-Prone Woods
Don’t miss this step if you wish to know how to stain wood without blotches. Some soft woods (such as pine) and certain hard woods (such as maple, birch and cherry) absorb stain in a non-uniform manner. The soft, dry areas of the grain absorb different amounts of colour.
A pre-stain wood conditioner lightly seals the surface for even stain absorption. Apply the brush to it, leave for the time indicated on the label, and rub off the excess. Apply stain in window of product and wait until it dries.
The colour can sometimes be faded, conditioner will do this, so test on scrap wood first.
Step 3: Test the Stain on the Wood Blocks
The test piece is a fundamental aspect of the proper staining of wood. The colour on the can tag doesn’t usually match the colour you will find on your project.
Utilise the same type of wood scraps. Sand it in the same manner and condition it, if you intend to use it. Dry the sample and apply a topcoat to the sample to see the actual finish color.
If you’re not sure, try more than one shade. Much less expensive to change your mind on the scrap than your finished table.
In Step 4: stain is applied evenly.
The key to well stained wood is in this. Gently, but not shake, stir the stain. The color pigments settle at the bottom of the can and the shaking action forms bubbles.
Work in a warm, well-ventililated room. Use gloves and use a mask appropriate for the product used.
Use a brush, foam applicator or lint-free cloth to apply the stain. Move in the direction of the grain. Stain one section at a time, leaving a damp edge to blend the new stain into the old.
Wait for the time mentioned on the label – usually 5-15 minutes. Typically, the longer the wait, the darker the color. Don’t allow the stain to set on the surface as it will become sticky and uneven.
Step 5: Wipe off the excess stain
Use clean, lint-free cloth, wipe with grain. This takes off any pigment that’s not absorbed. One of the leading causes of tacky, blotchy finishes is leaving excess stain on the surface.
Change it to a different cloth when it is wet. Be extra careful about stain collecting in corners, edges and carved areas.
A warning: oily stain can dry and catch fire on the rags. Lay them out in the sun to dry or put them in a metal container with water. Dispose of according to local guidelines.
Step 6: Add a second coat to achieve deeper colour.
The question that is asked many times, is how can people stain wood darker without causing blotches. The solution isn’t a longer wait which is thin layers.
Allow first coat to dry completely. The drying time may depend on the type of product, humidity and temperature, so refer to the label. Then apply again and wipe off once again.
Use a natural light to check the color. Pause at desired tone level. Coats beyond that point can increase the depth of the coat without adding to the depth of the surface, and may cause the surface to become uneven.
Step 7:
Sealing is the final step in the staining of wood to give it a long-lasting rich color. A topcoat preserves the colour and facilitates easy cleaning.
Wait until the stain has completely dried. It may take a full day or more to oil-based stain; refer to the can. Applying the topcoat too early can allow moisture and solvents to be trapped.
Either thin coat polyurethane, varnish, or other finishes depending on the project. If using film finishes, lightly sand in between coats with fine sandpaper (220 grit) and remove dust. Dry each coat following directions.
Pro Tips for a Rich, Even Color
The following are some habits that make it much easier to know how to stain wood:
Treat end grain with care. End grain absorbs more stain, and appears darker. Sand it a little finer or condition it to smooth it out.
Remove glue. Dried wood glue blocks don’t stain. Squeeze out immediately and sand to remove it.
Mix your cans. If a large project requires more than one can, mix together for even color.
Complete one of the surfaces at a time. Stain a whole panel or table top before stopping to rest.
Mind the weather. Color appearance and drying time may vary depending on very hot, very cold or humid air.
Know your wood. Open-grain woods (oak) will absorb stain, whereas dense woods (maple) will absorb it less.
Common Mistakes to avoid
The majority of wood staining issues are due to rush. Beware of these:
- Not sanding the wood or sanding unevenly
- Not testing the color on scrap wood
- Leaving too much stain on the surface
- Prescribed burns on pine, maple or birch trees.
- Adding a topcoat before the stain is dry
When the stain is still damp, see if you can wipe the area immediately if you notice blotches. If it has already dried, sand back down to bare wood and repeat procedure. It will take longer, but it’s the most certain solution.
Related reading: best wood finishes for furniture, common woodworking mistakes, woodworking for beginners.
Final Thoughts
You now know how to stain wood to create an even look and rich texture. Nothing special, just the secret. Patience and good habits: clean sanding, correct conditioner as necessary, test piece, thin coats and the right topcoat.
Spend enough time on each step and allow each layer to dry as specified. It takes some practice to get the hang of staining wood, but it becomes easier with every project. When designing your wood, keep it simple, do it by the process and have fun with your wood!
FAQs
What is the easiest way for beginners to learn how to stain wood?
Any project that you begin, whether it be a shelf or a wooden box, is a good one. Stain with oil stain, sand thoroughly and test on scrap first. Use light coatings and wipe dry every coat.
What is the recommended amount of time for stains to remain on?
Most of the products recommend a 5 to 15-minute wait, but be sure to follow the label instructions on the can. A shorter time results in a lighter color, a longer time results in a deeper color.
Is wood stain sanding-free?
Typically, no. Sanding will open the pores and remove old finish, mill marks, and dirt. If the wood has a smooth, bare finish, it may require a light sanding. If the wood has an old finish, stripping and/or sanding is necessary.
Will I be able to stain over a previous stain or varnish?
Not directly. Varnish or polyurethane will not take stains. If you want to get rid of the finish, do it first, then repeat the steps above. Other people apply gel stain under existing finishes but the finish may vary so test first.
Does staining wood for outdoor projects differ from other projects?
The general procedure of staining wood remains the same in the outdoors, but the stain must be rated for outdoor use and be resistant to sun and rain. The wood should also be clean and completely dry when you start.